Print-Ready Files: Bleed, Resolution and the Final Checklist Before You Send
A print ready file checklist for designers: bleed, safe margin, 300 PPI images, CMYK colour, fonts and PDF/X export so the job prints right first time.
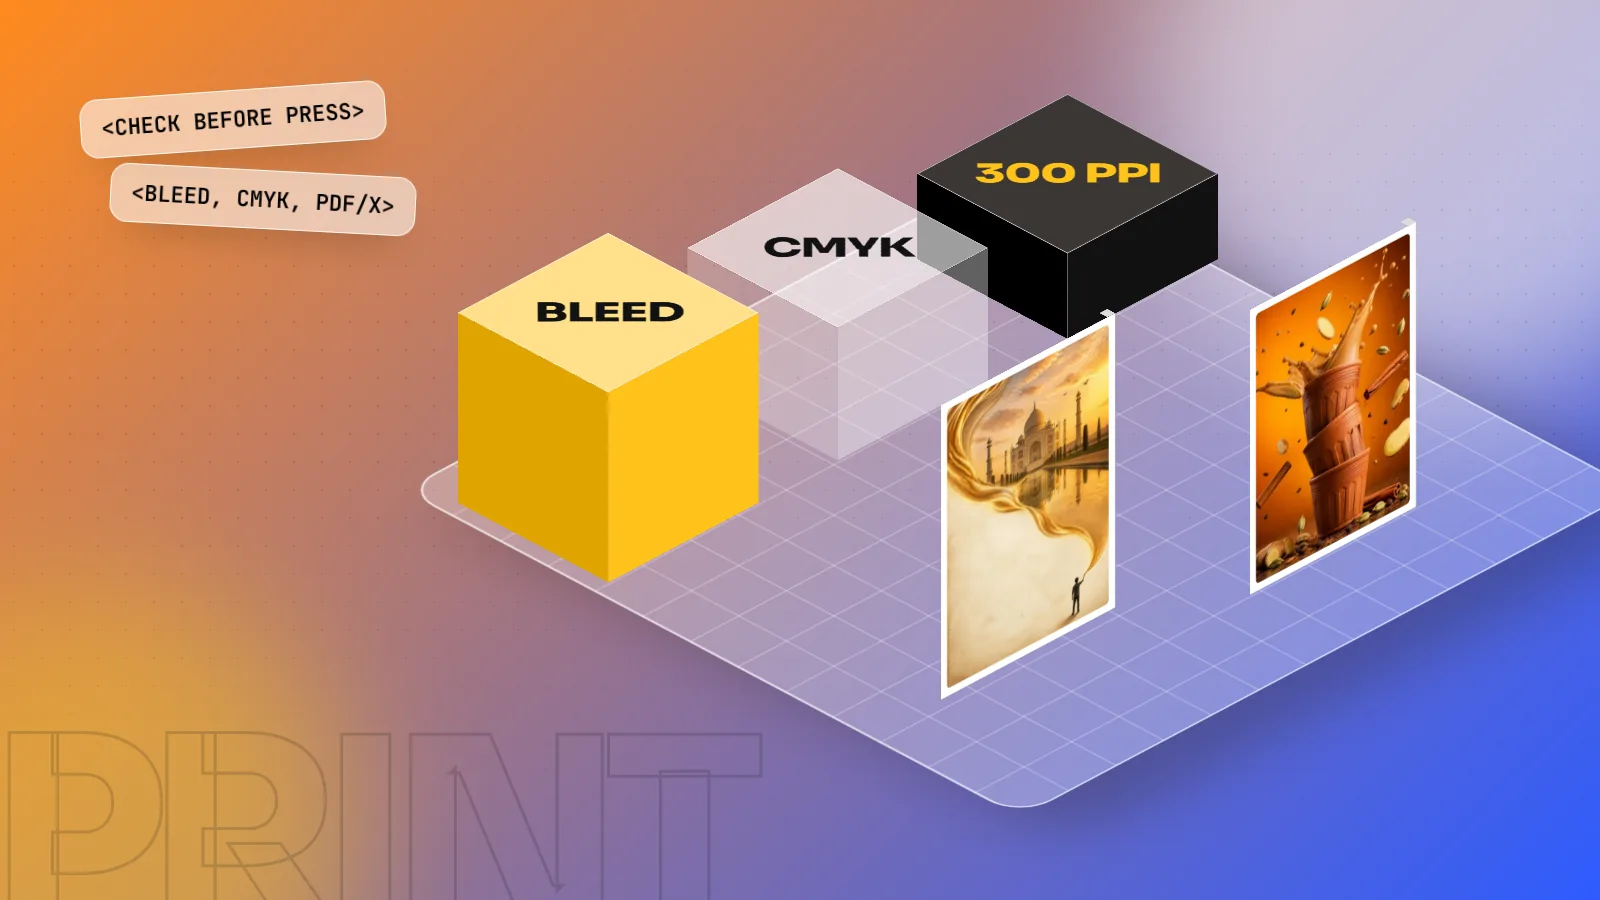
A print-ready file is a PDF the printer can print without fixing anything. Check six things before you send it: the right trim size, 3 mm bleed on every side, text inside a 3 to 5 mm safe margin, images at 300 PPI, colours in CMYK and fonts embedded or outlined. Export as PDF/X-1a or PDF/X-4 with crop marks.
A print ready file checklist is the short list of checks a designer runs before sending artwork to the press: correct size, bleed, safe margin, image resolution, CMYK colour, fonts and the right PDF export. If any one of these is wrong, the printer either calls you back or, worse, prints it as it is. White lines at the edge, blurry photos, dull colours and missing letters are almost always a file problem, not a printing problem. This guide explains each check in plain words and gives you a checklist you can use on every visiting card, brochure, menu or hoarding.
What "print ready" really means
A print-ready file is one the printer can send straight to the plate or the digital press without opening it in a design app to fix anything. In practice that means one PDF, at the final size, with extra image area around the edges, all images sharp enough, all colours set for ink and all fonts inside the file.
| Problem in the print | Usual cause in the file |
|---|---|
| Thin white line at the edge after cutting | No bleed, or background stops at the trim line |
| Text or logo cut off at the edge | Content placed outside the safe margin |
| Blurry or "pixel" photos | Images below 300 PPI at the printed size |
| Bright screen colours look dull | File in RGB, converted by the printer |
| Wrong font or boxes instead of letters | Fonts not embedded or not outlined |
| Black looks grey and washed out | Large black areas made with only K, or a rich black set wrongly |
If you are new to colour modes, read our guide to CMYK vs RGB first. It explains why a bright screen blue can never look the same on paper.
Size, bleed and safe margin
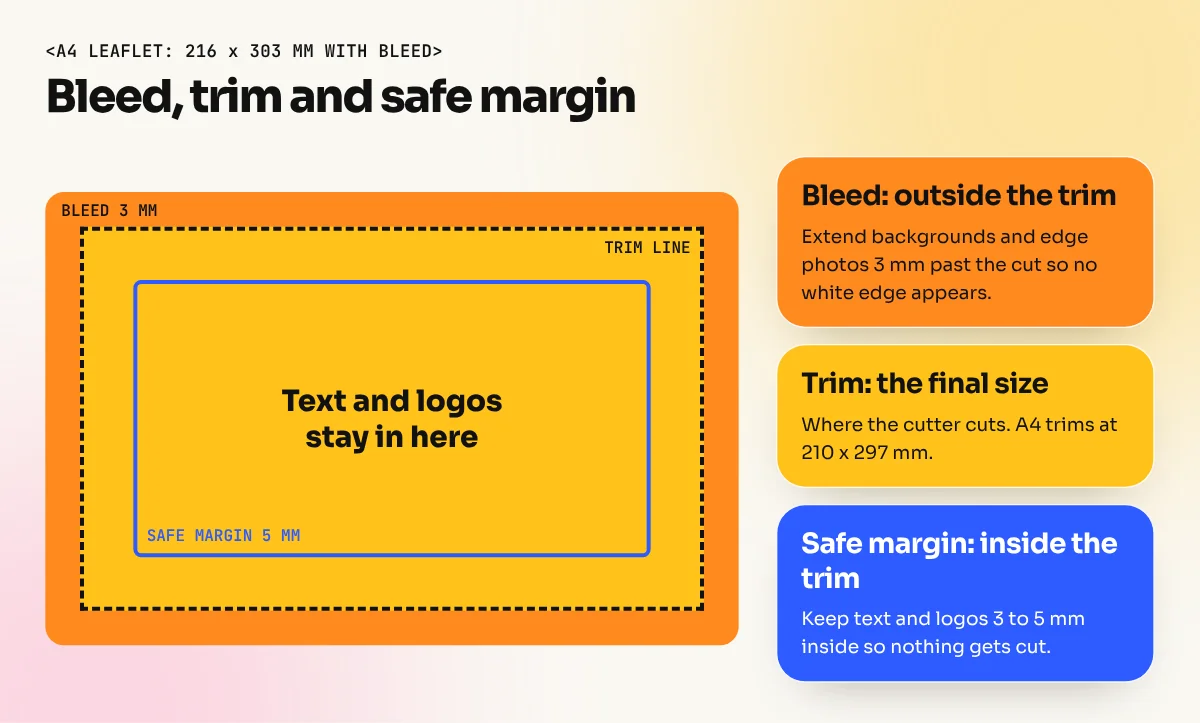
Every printed job has three boxes. Get these right and most of the problems above disappear.
- Trim size. The final size after cutting. An A4 leaflet trims at 210 x 297 mm. A standard Indian visiting card is usually 3.5 x 2 inches (about 89 x 51 mm), but check with your printer because sizes vary.
- Bleed. Extra artwork beyond the trim on every side. Most printers in India ask for 3 mm. The cutting machine can move slightly, so if your background stops exactly at the trim, a thin white edge can appear. Extend every background colour and edge photo into the bleed.
- Safe margin. A zone inside the trim where you keep all important text and logos. Keep 3 to 5 mm on small jobs such as cards and 10 mm or more on books, where binding also eats space.
So an A4 leaflet with 3 mm bleed has a document size of 216 x 303 mm. Set the bleed when you create the document. In InDesign, the New Document box has a Bleed and Slug section. In Illustrator, the same option appears when you create a new file. Adding bleed later often means moving every edge image by hand.
Images: resolution and placement
Printers talk about DPI, design apps show PPI. For files, think of PPI: how many image pixels fit into one inch of the printed page.
| Job | Viewing distance | Target at final printed size |
|---|---|---|
| Visiting card, brochure, menu, book | Held in the hand | 300 PPI |
| Poster on a wall | 1 to 2 metres | 150 to 300 PPI |
| Flex banner, hoarding | Several metres or more | 100 to 150 PPI, ask the printer |
The key words are "at final printed size". A 3000 pixel wide photo is 300 PPI at 10 inches wide. If you stretch it to 20 inches in the layout, it falls to 150 PPI. InDesign shows this as Effective PPI in the Info and Links panels. Check it for every placed image.
Two more image checks:
- Do not upscale a web image and call it print quality. A small logo copied from a website will look soft. Ask the client for the original vector logo (AI, EPS, SVG or PDF).
- Link, do not paste. In InDesign, place images as links and keep them in one folder. Missing or modified links show a warning in the Links panel. Fix all of them before export.
Colour: CMYK, rich black and spot colours
Offset and most digital presses print with four inks: cyan, magenta, yellow and black. Your final file should be in CMYK unless the printer tells you otherwise.
- Convert with care. Bright RGB greens, blues and oranges shift when converted. Convert early, then adjust the colours by eye on a calibrated screen, not at the last minute.
- Small black text: 100% K only. If body text is built from all four inks, any small misregistration makes it look blurred.
- Large black areas: rich black. A big area of 100% K alone can look dark grey. Many printers suggest a rich black such as C60 M40 Y40 K100. Ask your printer for their exact mix and stay within their total ink limit.
- Spot colours. If the brand uses a Pantone colour and the job is printed with that ink, keep it as a named spot colour. If it is a normal four-colour job, convert spot colours to CMYK so the printer does not get a surprise extra plate.
- Overprint check. White text set to overprint will disappear in print. Turn on Overprint Preview in InDesign or Illustrator before export.
Fonts and text
Missing fonts are one of the most common reasons a printer calls back. Use one of these methods:
- Embed fonts in the PDF. PDF/X exports embed fonts by default when the font licence allows it.
- Outline fonts for logos and very short text in Illustrator (Type, Create Outlines). Keep a copy with live text so you can still edit it.
- Package the job in InDesign (File, Package) when the printer asks for open files. It collects fonts, linked images and a report into one folder.
Also check the words. Run spell check, then read the phone numbers, email and address out loud. A wrong digit on 5,000 visiting cards is an expensive lesson. On multi-page jobs, ask a second person to read every page as well.
Exporting the PDF the printer wants
Most professional printers ask for a PDF/X file. These are print standards that lock in fonts, images and colour rules.
| Export setting | What to choose | Why |
|---|---|---|
| PDF standard | PDF/X-1a or PDF/X-4 (ask the printer) | Made for print, checks for common errors |
| Compression | Keep images at 300 PPI, high quality | Avoids soft or blocky photos |
| Marks | Crop marks on, offset set outside the bleed | Shows the cutter where to trim |
| Bleed | Use document bleed settings | Includes the 3 mm you designed |
| Pages | Single pages, not spreads, unless asked | Printers impose pages their own way |
In InDesign, go to File, Export, choose Adobe PDF (Print), pick the PDF/X preset, then open Marks and Bleeds, tick Crop Marks and Use Document Bleed Settings. In Illustrator, use File, Save As, Adobe PDF and the same preset. Open the exported PDF and zoom in to check that the bleed area is there and the crop marks sit outside the artwork.
Canva also offers a "PDF Print" download with crop marks and bleed options, which is fine for many simple jobs. For brand work, packaging and books, most printers still expect files from InDesign or Illustrator.
The final print ready file checklist
Print this list or keep it next to your screen. Tick every line before you send the file.
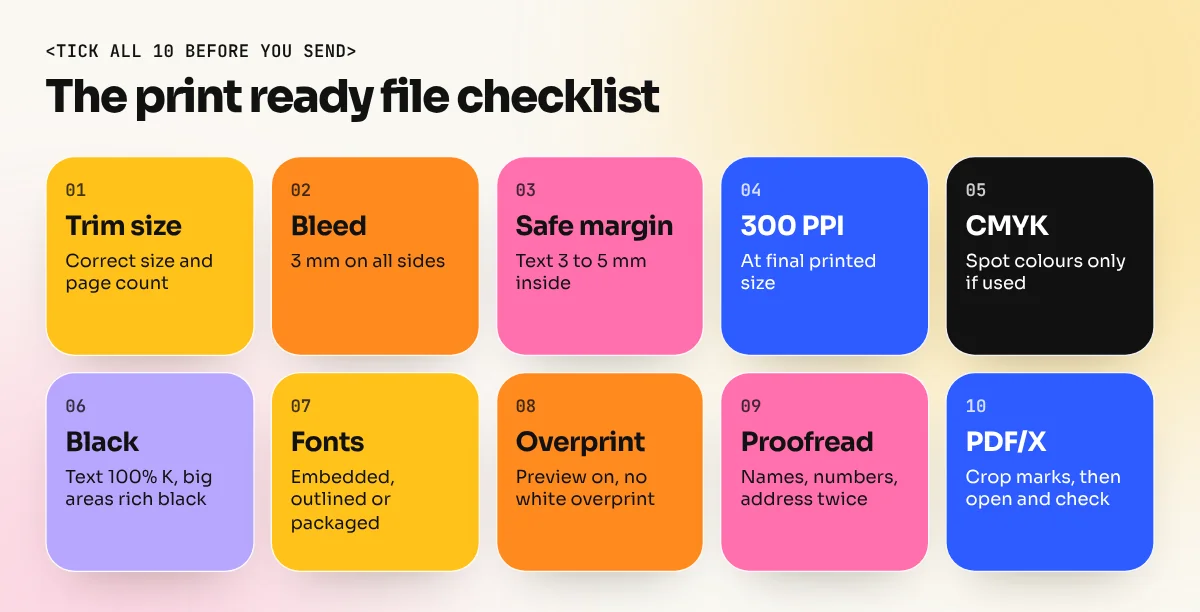
- Document is the correct trim size and page count.
- 3 mm bleed (or the printer's number) on all sides, backgrounds extended into it.
- All text and logos inside the safe margin.
- Every image at 300 PPI at final size (or the printer's number for large format).
- All colours in CMYK, spot colours kept only if the job uses them.
- Small black text at 100% K, large black areas in the printer's rich black.
- Fonts embedded, outlined or packaged.
- Overprint Preview checked, no white objects set to overprint.
- Spelling, numbers, phone, email and address proofread twice.
- Exported as PDF/X with crop marks, then opened and checked.
Finally, ask the printer for a proof. For short digital runs a PDF proof may be enough. For packaging, wedding cards or any job with a brand colour, ask for a printed hard proof and check it in daylight before you approve the full run.
Common mistakes freshers make
- Designing at screen size. A poster made at 1080 x 1350 pixels for Instagram cannot simply be printed as an A3 poster. Start print jobs in millimetres at the real size.
- Using a border too close to the edge. A thin frame 2 mm from the trim will look uneven after cutting. Either keep it well inside the safe margin or remove it.
- Forgetting the back side. Two-sided cards and leaflets need bleed and checks on both pages.
- Sending the wrong version. Name files clearly, for example "chai-menu_A4_final_v3_print.pdf". Send only one.
These checks become a habit with practice. In our InDesign course you set up real print documents with bleed, styles and PDF/X export. The 6-month graphic design diploma takes it further with live print jobs such as leaflets, menus and packaging. If you are designing a leaflet next, our step-by-step guide to leaflet design uses this same checklist.
Frequently asked questions
How much bleed should I add for printing in India?
Most printers in India ask for 3 mm bleed on every side. Some large-format and book printers ask for 5 mm. If you are not sure, ask the printer before you start the layout, because adding bleed later can push images out of place.
Is 150 DPI enough for print?
For brochures, visiting cards and flyers held in the hand, aim for 300 PPI at the final printed size. Large banners and hoardings are seen from far away, so printers often accept 100 to 150 PPI at full size. Always ask the printer for their number.
Should I send a PDF or the open file to the printer?
Send a PDF/X file unless the printer asks for something else. It locks fonts, images and colours in one file. Keep your InDesign or Illustrator file with packaged fonts and links in case the printer needs a change.
What is the difference between PDF/X-1a and PDF/X-4?
PDF/X-1a flattens transparency and converts everything to CMYK. It is the safest for older printing systems. PDF/X-4 keeps live transparency and can hold colour profiles. Many modern printers prefer it. Ask the printer which one their workflow uses.